Proxmox Backup Server: Automated VM Backups That Work
Built-in Proxmox backups are fine, but a dedicated Proxmox Backup Server unlocks massive space savings through deduplication. See exactly how I deployed mine to bulletproof my homelab data.

It was time to tackle the less glamorous, but arguably most critical part of the home data center project - backups!
• Overview
• Part 1: Cluster Setup
• Part 2: Power Optimisation
• Part 3: Virtual Machines
▶️ Part 4: Backup Server (you are here)
To handle this, I set up a dedicated Proxmox Backup Server (PBS). While Proxmox VE has built-in backup capabilities, running a dedicated backup server provides features like deduplication (space saving) and incremental backups (time saving).
I didn't want to break the bank for a machine that just sits there catching data, nor did I want something that would guzzle electricity.
I headed back to eBay and picked up an old Lenovo M93p Tiny. It’s a great little machine for this purpose; small, quiet, and efficient.

The i3-4330T processor is a low-power "T" series chip, which is perfect for an always-on appliance. I installed a spare SSD I had lying around and upgraded the RAM up to 12GB to ensure the deduplication process had enough memory to run its course.
Installing Proxmox Backup Server
The installation process is almost identical to Proxmox VE. I flashed the Proxmox Backup Server ISO onto a USB stick, plugged it into the Lenovo, and installed it on bare metal.
Once the owas up and running, I needed to tidy it up. Just like with the main cluster, the default installation is geared towards enterprise users. I turned to the Proxmox community scripts again to sort out the repositories and update the CPU microcode.
Post-Install Configuration
I ran the post-install script. This disables the "No Subscription" nag screen and configures the correct repositories for a home user:
bash -c "$(curl -fsSL https://raw.githubusercontent.com/community-scripts/ProxmoxVE/main/tools/pve/post-pbs-install.sh)"
Processor Microcode
Next, I updated the processor microcode update script to ensure the old Haswell CPU was patched against hardware vulnerabilities and running efficiently:
bash -c "$(curl -fsSL https://raw.githubusercontent.com/community-scripts/ProxmoxVE/main/tools/pve/pbs_microcode.sh)"
Adding to Tailscale
Before tucking the server away in the cupboard, I needed to ensure I could access it remotely. Since my entire homelab runs on a Tailscale mesh network (my "Tailnet"), adding the backup server was a no-brainer.
Tailscale instructions can be found in my previous post.
Once installed, I authenticated the machine link, and it popped up in my Tailscale admin console. Now I can manage my backup server remotely.
Linking the Cluster to the Backup Server
With the backup server running and networked, the next step was introducing it to the main Proxmox cluster.
On the Proxmox VE (Cluster) side, I navigated to
Datacenter → Storage → Add → Proxmox Backup Server
You need a few details from the backup server here:
- ID: A name for the storage (e.g., pbs-backup)
- Server: The IP address (or Tailscale IP) of the Lenovo M93p
- Username: root@pam
- Password: The root password for the backup server
- Datastore: The name of the datastore you created on the backup server (I called mine backup-store)
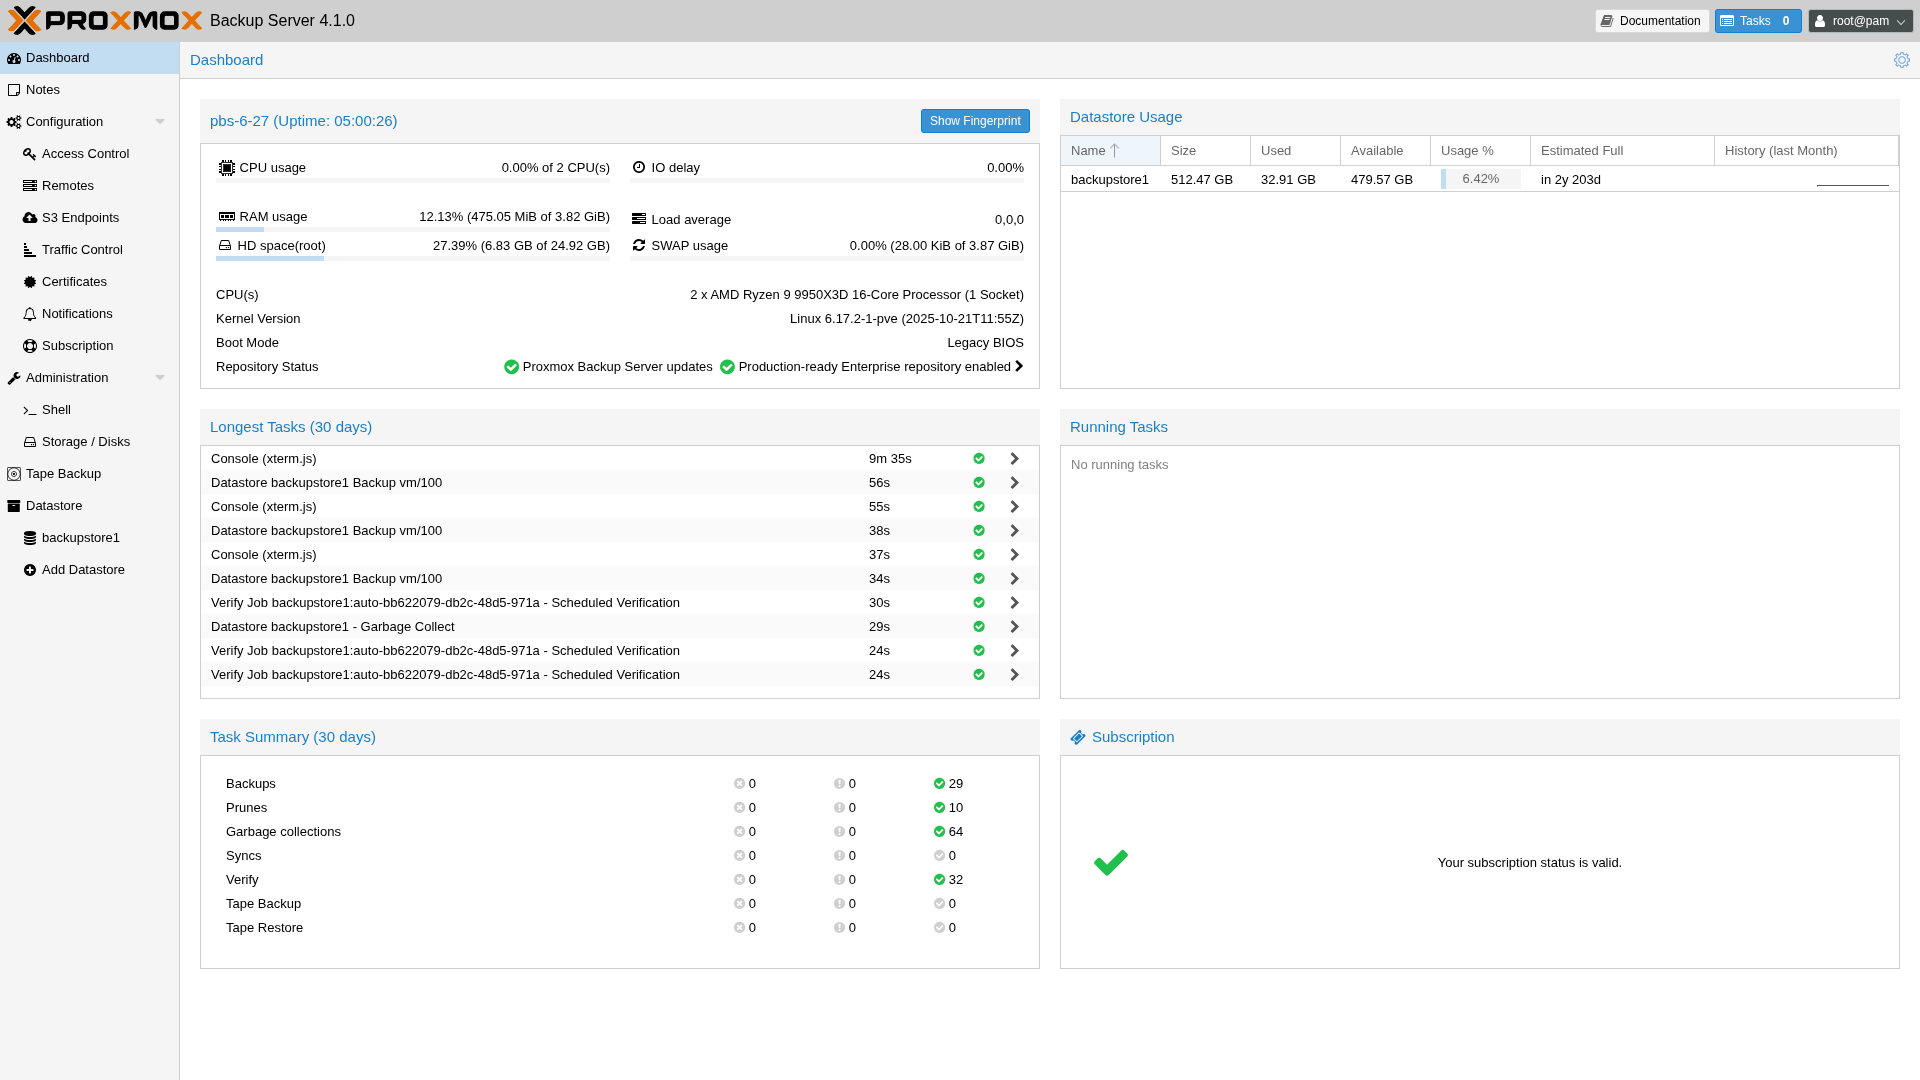
- Fingerprint: You can find this on the dashboard of the Backup Server.
Once added, the backup server appears as a storage target for all nodes in the cluster.
Backup Strategy
I set the cluster to back up all my VMs twice a day.
Because I am limited by storage, a 128GB Samsung SSD fills up fast. I had to be aggressive with my retention policy. I configured the retention settings to keep only three days' worth of backups.
Thanks to Proxmox Backup Server's deduplication, this is actually more efficient than it sounds. It doesn't save the full disk every time; it only saves the chunks of data that have changed. However, with a small drive (128GB), I can't afford to keep weeks of history just yet.
Finding this useful?
Get updates plus new tutorials delivered straight to your inbox ✉️.
Subscribe FreeEmail Notifications
I wanted to use email notifications to alert me whenever a backup failed or an error occurred. Proxmox Backup Server includes a built-in email notification feature, but it requires an email relay to be configured first.
As with my virtual machines, I set up an email relay to handle outgoing messages. I followed the same steps outlined in my previous post.
Future Improvements
While this setup is functional, it’s not "disaster-proof" yet.
- Increase Storage Capacity
128GB is cutting it fine. I plan to upgrade to a larger 1TB or 2TB SSD to allow for a longer retention period (weeks instead of days). - Off-site Backups
Currently, all my data is stored onsite. If my house floods or burns down, both the cluster and the backup server go with it. I plan to use the Tailscale connection to sync encrypted backups to a remote Proxmox Backup Server at a friend's house.
Related Posts
- Setting Up Ubuntu Server VMs on Proxmox — The VMs these backups are protecting.
- I Built a Home Data Center for Under £200 — The full project overview from start to finish.