Setting Up Ubuntu Server VMs on Proxmox
LXC containers are lightweight, but true kernel-level isolation and security require full Virtual Machines. Find out why I chose this route and which Linux distribution serves as the rock-solid foundation for my setup.

While Proxmox offers lightweight LXC containers, I decided to use Virtual Machines (VMs). VMs provide better security and a richer feature set through full kernel-level isolation.
• Overview
• Part 1: Cluster Setup
• Part 2: Power Optimisation
▶️ Part 3: Virtual Machines (you are here)
• Part 4: Backup Server
Of course the operating system was going to be Linux based. You want a distribution that is:
- Stable
- Stay's up to date
- You're familiar with
- Is well supported
I went with Ubuntu Server. I'm familiar with Ubuntu, it's well documented, supported and has an active community.
In production the general recommendation is to use the Long-Term Support (LTS) versions of Ubuntu Server. Deciding between an LTS version and a newer interim release comes down to whether you value peace of mind or the very latest features.
The LTS is the default option for production servers; you get five years of security patches, meaning you can build your system and trust it to run without constant tinkering. The trade-off is that you won't always have the newest versions of software packages and the Linux kernel.
The interim releases give you the "latest and greatest" tools and are brilliant for brand-new hardware, but the support runs out after just nine months. This can force you into a constant cycle of upgrading your whole system to stay secure, which can be an annoyance if you just want things to work.
| Feature | LTS (Long Term Support) | New (Interim) Release |
| Best For | Live servers, business use, reliability. | Developers, testing, newest hardware. |
| Support Life | 5 Years (Standard). | 9 Months. |
| Reliability | Very high; built to be stable. | Good, but new features might have bugs. |
| Software Age | Older, proven versions. | Bleeding edge (the absolute newest). |
| Maintenance | Set it and forget it. | Requires a full upgrade every 6–9 months. |
Setting Up a VM in Proxmox
Setting up a virtual machine in Proxmox is fairly straightforward.
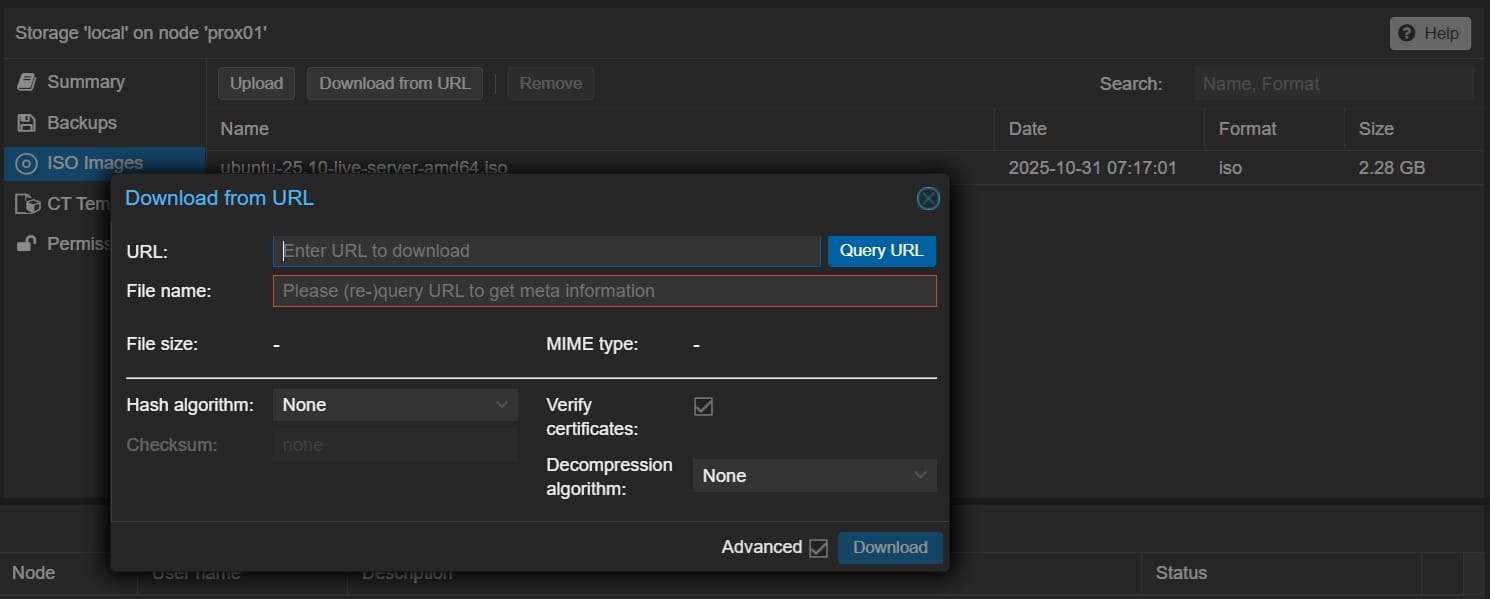
I downloaded the Ubuntu server ISO directly into onto a cluster node.
Then proceeded to go through the 'Create VM' wizard.
The following settings are what I recommend for most workloads.
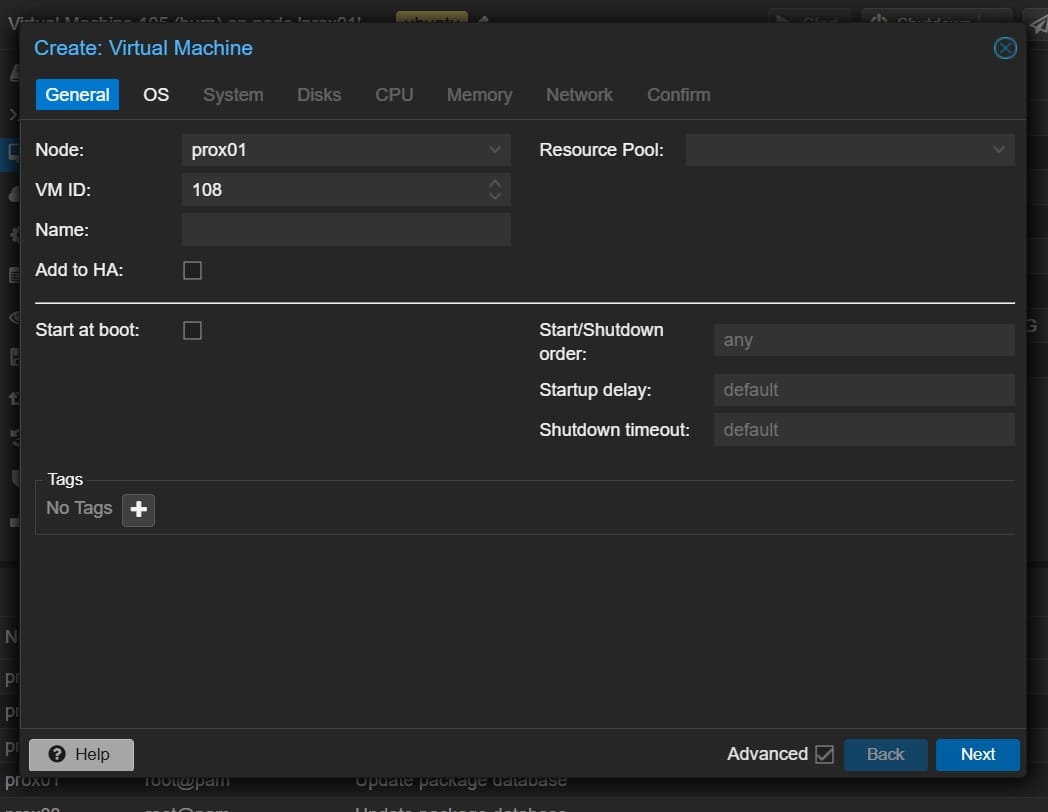
General
Start at boot: ✅ Enable
I strongly recommend enabling this. If the Proxmox host is rebooted, your VM will automatically start again once the system comes back online. This is especially useful if the server is remote or unattended, as it avoids having to manually start each VM.
System
Machine: q35
For modern operating systems (Windows 10/11, Windows Server 2016+, and current Linux distributions), I recommend using the Q35 machine type.
Q35 emulates a modern chipset and enables support for PCI Express (PCIe), IOMMU, Secure Boot, and NVMe storage. Compared to the legacy default, it more closely resembles real hardware and generally offers better performance and compatibility.
Memory
Memory (MiB): Set as required
Ballooning Device: ✅ Enable
Enabling the ballooning device allows Proxmox to dynamically manage memory. The VM can request additional RAM when needed and release it when idle. This helps improve overall resource utilisation, particularly when running multiple VMs on the same host.
CPU
Sockets: As required
Cores: As required
Type: host
Setting the CPU type to host passes all of the host CPU’s features directly through to the VM. This allows the VM to use the full instruction set of the processor and typically results in better performance.
If you are running a single Proxmox node, host is almost always the best choice. There are no real downsides, as the VM will never need to move to another machine.
This setting can cause problems in a cluster with mixed hardware. Because host ties the VM to the exact CPU features of the node it was created on, live migration may fail if you attempt to move it to a system with a different or older processor.
If you are planning a cluster with mixed CPUs, it is safer to select a standardised model such as x86-64-v2-AES. This provides good performance while allowing VMs to migrate cleanly between nodes.
Hard Disk
Bus/Device: VirtIO Block (QEMU)
Discard: ✅ Enable (SSD/NVMe only)
SSD Emulation: ✅ Enable (SSD/NVMe only)
If your storage is backed by an SSD or NVMe drive, enable both Discard and SSD emulation.
Discard allows the guest operating system to tell Proxmox when blocks are no longer in use, which helps maintain performance and reduces unnecessary writes. SSD emulation ensures the VM knows it is running on solid-state storage and can optimise its behaviour accordingly.
Finding this useful?
Get updates plus new tutorials delivered straight to your inbox ✉️.
Subscribe FreeThings to Do When Your VM Is Running
Once your VM is setup and running you will need to SSH in.
ssh username@your-server-ip-address
Checking Accurate Time
Even though it’s automatic on modern versions of Ubuntu Server, time sync is important for:
- TLS/SSL certificates (time drift breaks HTTPS)
- Logs and audit trails
- Kerberos / AD / LDAP
- Backups, snapshots, and monitoring
- Clusters (Proxmox, Kubernetes, Ceph, etc.)
In virtualised environments, time drift does happen, confirming NTP is working is good practice.
Run
timedatectlYou want to see
System clock synchronized: yesNTP service: active
Update Package Lists & Upgrade
sudo apt update && apt upgrade -y
QEMU Guest Agent
The QEMU Guest Agent is an important service that should be installed on all VMs running in Proxmox. It acts as a bridge between the Proxmox host and the guest operating system.
Benefits include:
- Graceful Shutdown and Reboot
Allows Proxmox to properly shut down or reboot the VM from the web interface without forcing the power off, which can lead to data corruption. - Live Snapshots
Crucial for creating consistent, live snapshots by quiescing the guest's file system during the backup process. - Accurate Information
Enables the Proxmox host to retrieve detailed information from the VM, such as its IP addresses, which then appears in the Proxmox summary panel. - Improved Resource Management
Facilitates features like memory ballooning.
Ensure the 'Guest Agent' option is enabled in the VM's 'Options' tab within the Proxmox web interface. Then, connect to your Ubuntu Server VM and run the following commands.
Install the agent.
sudo apt install qemu-guest-agent -y
Start and enable the service to ensure it runs on boot.
sudo systemctl start qemu-guest-agent
sudo systemctl enable qemu-guest-agent
After installation, a reboot is recommended. You should then see the VM's IP addresses on the 'Summary' page in the Proxmox UI.
Apply SSH Key Authentication
SSH keys are more secure than passwords, as they are vulnerable to brute-force attacks. Keys rely on cryptographic pairs and access is granted only if you possess the specific private key file. These instructions assume your local machine is running Linux.
Generate SSH Keys (Local Machine)
Generate a key pair on your computer. I recommend ed25519 as it is more secure and efficient than the older rsa standard.
ssh-keygen -t ed25519 -C "[email protected]"
Copy Public Key to Server
Display your public key on your local machine.
cat ~/.ssh/id_ed25519.pub
Log in to your VM and create the necessary directory. Correct permissions are critical.
mkdir -p ~/.ssh
chmod 700 ~/.ssh
nano ~/.ssh/authorized_keys
# Paste your public key string here
chmod 600 ~/.ssh/authorized_keys
Test SSH Key Login
Before disabling passwords, verify the key works. Open a new terminal locally and connect; you should enter immediately without a password prompt.
Disable Password Authentication (VM)
Once key-based login is confirmed, harden the server by disabling passwords. Edit the SSH config.
sudo nano /etc/ssh/sshd_config
Find and change the following value to no.
PasswordAuthentication no
Note: Check /etc/ssh/sshd_config.d/50-cloud-init.conf as well, as this can sometimes override the main config.
Disable Root Login (VM)
For added security, prevent the root user from logging in remotely. In the same /etc/ssh/sshd_config file, set.
PermitRootLogin no
Restart SSH Service
Validate the configuration and restart the service to apply changes.
sudo sshd -t
sudo systemctl restart ssh
Setting up Email Notifications
To configure the VM to send email notifications for services like unattended-upgrades, you'll need to set up an email relay. The process is identical to configuring the Proxmox host itself.
Please refer to the instructions in Part 1
Tailscale
Tailscale provides a secure and straightforward way to connect to your VMs from anywhere.
For installation instructions, see Part 1
Unattended-Upgrades
The unattended-upgrades package is useful for maintaining system security by automatically installing the latest security updates. Configuring it to send email notifications ensures you're always aware of changes made to your system.
The primary configuration file is located at /etc/apt/apt.conf.d/50unattended-upgrades.
Open the configuration file using a text editor such as nano.
sudo nano /etc/apt/apt.conf.d/50unattended-upgrades
Enable and configure email notifications. Find the following line, uncomment it by removing the //, and replace the placeholder with your email address.
- //Unattended-Upgrade::Mail "root";
+ Unattended-Upgrade::Mail "[email protected]";
Specify when to receive emails. The Unattended-Upgrade::MailOnlyOnError option controls the frequency of notifications. To receive an email every time an upgrade occurs, ensure this line is either commented out or set to false.
// Unattended-Upgrade::MailOnlyOnError "true";
or
Unattended-Upgrade::MailOnlyOnError "false";
Save your changes and exit the editor (in nano, press Ctrl+X, then Y, and Enter).
To test your configuration, perform a dry run. This simulates the upgrade process and should trigger an email if everything is configured correctly and updates are pending:
sudo unattended-upgrades --debug --dry-run
Check the command output for any errors and monitor your inbox (including the spam folder) for the notification.
Docker & Docker Compose
Docker is a platform for developing, shipping, and running applications in containers. Docker Compose is a tool for defining and running multi-container Docker applications.
These steps follow the official Docker repository method, which is the recommended approach.
Set Up Docker's apt Repository
Add Docker's official GPG key.
sudo apt-get update
sudo apt-get install ca-certificates curl
sudo install -m 0755 -d /etc/apt/keyrings
sudo curl -fsSL https://download.docker.com/linux/ubuntu/gpg -o /etc/apt/keyrings/docker.asc
sudo chmod a+r /etc/apt/keyrings/docker.asc
Add the repository to apt sources.
echo \
  "deb [arch=$(dpkg --print-architecture) signed-by=/etc/apt/keyrings/docker.asc] https://download.docker.com/linux/ubuntu \
  $(. /etc/os-release && echo "$VERSION_CODENAME") stable" | \
  sudo tee /etc/apt/sources.list.d/docker.list > /dev/null
sudo apt-get update
Install the Docker Packages
sudo apt-get install docker-ce docker-ce-cli containerd.io docker-buildx-plugin docker-compose-plugin -y
(Optional but Recommended) Add Your User to the Docker Group
This allows you to run Docker commands without sudo. You'll need to log out and back in for this change to take effect:
sudo usermod -aG docker $USER
Verify the Installation
Run the "hello-world" container.
docker run hello-world
I also have a short guide to securing and hardening Docker containers.
Watchtower
Watchtower is a container that monitors your running Docker containers and automatically updates them to the latest image available. This simplifies maintenance and ensures your applications are always running the most recent, and often more secure, versions.
Watchtower runs as a Docker container itself. The simplest way to deploy it is with the following command.
docker run -d \
  --name watchtower \
  -v /var/run/docker.sock:/var/run/docker.sock \
  containrrr/watchtower
This starts Watchtower and gives it access to the Docker socket, allowing it to manage other containers on the host. By default, it checks for new images every 24 hours.
Portainer
Portainer is a powerful, lightweight management UI that allows you to easily manage your Docker environments. It provides a detailed overview of your containers, images, volumes, and networks, and allows you to deploy applications quickly through its web interface.
First, create a volume for Portainer to store its data.
docker volume create portainer_data
Now, run the Portainer Server container.
docker run -d -p 8000:8000 -p 9443:9443 --name portainer \
    --restart=always \
    -v /var/run/docker.sock:/var/run/docker.sock \
    -v portainer_data:/data \
    portainer/portainer-ce:latest
This starts Portainer Community Edition, exposes its UI on port 9443 (HTTPS), and ensures it restarts automatically.
Once running, access the Portainer UI by navigating to https://<your-vm-ip>:9443 in your web browser. You'll be prompted to create an administrator account on your first visit.
Fail2ban
Fail2ban is an intrusion prevention software framework that protects servers from brute-force attacks. It monitors log files (e.g., /var/log/auth.log) for suspicious activity, such as repeated failed login attempts, and temporarily bans the offending IP addresses using firewall rules.
Installation and Configuration
Install the Fail2ban package.
sudo apt update
sudo apt install fail2ban -y
The default configuration is stored in /etc/fail2ban/jail.conf. You shouldn't edit this file directly. Instead, create a local configuration file to make your customisations, which will override the defaults.
sudo cp /etc/fail2ban/jail.conf /etc/fail2ban/jail.local
Open your new local configuration file to customise the settings. For example, you can enable the SSH protection jail.
sudo nano /etc/fail2ban/jail.local
Inside jail.local, find the [sshd] section and ensure it's enabled.
[sshd]
enabled = true
port    = ssh
logpath = %(sshd_log)s
backend = %(sshd_backend)s
Restart the Fail2ban service to apply the changes.
sudo systemctl restart fail2ban
You can check the status of your jails and banned IPs with.
sudo fail2ban-client status sshd
Testing VM Migration
VM migration is the process of moving a running virtual machine from one Proxmox host to another. It's a key feature for performing hardware maintenance without service interruption.
Currently, with local storage on each node, the migration process involves copying the entire VM disk image over the network. This works but can be very slow, especially over a 1GbE network connection. For large VMs, this can lead to significant downtime.
Future Improvements
The long-term goal for this project is to implement a High Availability (HA) storage solution, such as Ceph.
Ceph is a distributed storage platform that provides a unified storage pool across all nodes in the cluster. When a VM's disk is stored on Ceph, the migration process becomes nearly instantaneous. This is because the disk image is already accessible to all nodes, only the VM's running state (the contents of its RAM) needs to be transferred over the network.
Upgrading the network infrastructure from 1GbE to 10GbE is also planned. This will not only speed up local storage migrations but is also a prerequisite for achieving good performance with distributed storage systems.
Related Posts
- Docker Security: 10 Hardening Steps Most Homelabbers Skip — You installed Docker in this guide — now secure it.
- Proxmox Backup Server: Automated VM Backups That Work — Protect the VMs you just created.