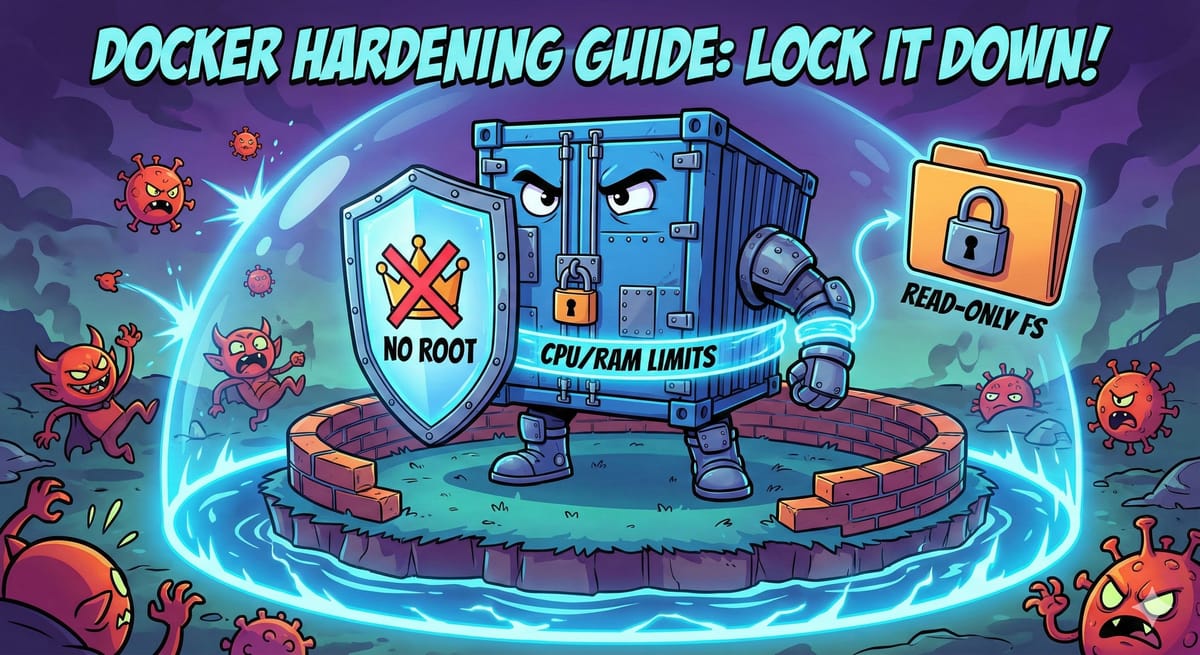
10 Practical Steps to Harden Your Docker Containers

If you have been using Docker for a while, you probably know the satisfaction of getting a container up and running. However, simply getting a service to work is only half the battle. The default settings for Docker are designed for usability and compatibility, not necessarily for maximum security.
To ensure your home lab or production environment isn’t vulnerable to attacks or resource exhaustion, you need to "harden" your containers. Based on some excellent advice from the community, I have compiled ten steps to lock down your Docker setup.
1. Don't Run as Root
By default, processes inside a container run as root. If an attacker manages to break out of the container, they could potentially have root access to your host machine. The safest approach is to specify a non-privileged user (UID) and group (GID).
Why? Run the process as a limited user (e.g., user nobody or a specific service account) so a breach is contained to that user's permissions.
Docker Compose:
services:
  app:
    user: "1000:1000" # syntax is UID:GID
Docker CLI:
docker run --user 1000:1000 my-image
2. Disable TTY and Stdin
Most server applications (like databases or web servers) do not need an interactive terminal. Leaving these open can create an unnecessary attack surface.
Why? If you don't need to type commands into the container while it's running, shut the input door.
Docker Compose:
services:
  app:
    tty: false
    stdin_open: false
Docker CLI:
Note: By default, the CLI does not attach TTY or Stdin unless you pass the -it flags. Ensure you run your container detached (-d) without interactive flags.
3. Make the Filesystem Read-Only
If a container gets compromised, the first thing a malicious actor might try to do is download scripts or modify system files. If the filesystem is read-only, they hit a brick wall.
Why? The container functionality is immutable. It cannot write to its own system folders, preventing tampering.
Docker Compose:
services:
  app:
    read_only: true
Docker CLI:
docker run --read-only my-image
4. Prevent Privilege Escalation
Even if you run as a standard user, there are ways for processes to try and gain more privileges (like using sudo). You can strictly forbid this behaviour.
Docker Compose:
services:
  app:
    security_opt:
      - no-new-privileges:true
Docker CLI:
docker run --security-opt=no-new-privileges:true my-image
5. Drop Linux Capabilities
The root user in Linux is actually a collection of specific "capabilities" (like changing network settings or mounting drives). Docker gives containers quite a few of these by default. It is best practice to drop all of them, and then add back only the specific few the application actually needs.
Why? Follow the principle of least privilege. If the container doesn't need to manage network drivers, it shouldn't have the power to do so.
Docker Compose:
services:
  app:
    cap_drop:
      - ALL
    # Only add back what is strictly necessary (optional)
    # cap_add:
    #   - NET_BIND_SERVICE
Docker CLI:
docker run --cap-drop=ALL my-image
6. Harden the Temporary Directory (/tmp)
Many applications need a scratchpad to write temporary files, which becomes difficult if you have set the whole filesystem to "Read-Only" (Tip #3). The solution is to mount a temporary file system (tmpfs) at /tmp, but lock it down so nothing can be executed from there.
Why? Allow writing temporary files, but prevent anyone from running a malicious script they managed to sneak into that folder.
Docker Compose:
services:
  app:
    tmpfs:
      - /tmp:rw,noexec,nosuid,nodev,size=512m
Docker CLI:
docker run --tmpfs /tmp:rw,noexec,nosuid,nodev,size=512m my-image
Note: If your application auto-updates (like Plex sometimes does), you may need to remove noexec, but keep the other flags.
7. Set Resource Limits
A buggy application or a denial-of-service attack can cause a container to consume 100% of your host's RAM or CPU, crashing your entire server.
Why? Put a strict "budget" on how much memory and processing power a container is allowed to use.
Docker Compose:
services:
  app:
    deploy:
      resources:
        limits:
          cpus: '3'
          memory: 3G
          pids: 512
Note: Depending on your Compose version, pids_limit and mem_limit might sit at the root of the service definition rather than under deploy.
Docker CLI:
docker run --cpus=3 --memory=3g --pids-limit=512 my-image
8. Limit Log File Sizes
If an application goes haywire and starts error-looping, it can generate gigabytes of logs in minutes, filling up your host storage and crashing the system.
Why? Configure log rotation so old logs are deleted to make room for new ones.
Docker Compose:
services:
  app:
    logging:
      driver: "json-file"
      options:
        max-size: "50m"
        max-file: "5"
Docker CLI:
docker run --log-opt max-size=50m --log-opt max-file=5 my-image
9. Mount Data as Read-Only
If your container only needs to read your media library (like a music or movie server), do not give it permission to write to it. This prevents accidental deletion or "ransomware" style encryption from within the container.
Why? Protect your persistent data on the host from being destroyed or altered by the container.
Docker Compose:
services:
  app:
    volumes:
      - /home/user/movies:/movies:ro
Docker CLI:
docker run -v /home/user/movies:/movies:ro my-image
10. Use Network Segmentation (DMZ)
Don't put public-facing containers (like a web server exposed to the internet) on the same internal Docker network as your private database or internal tools.
Why? If a hacker breaches your public web container, they shouldn't be able to easily reach your other private containers via the internal network.
Docker Compose:
services:
  public-app:
    networks:
      - dmz_net

networks:
  dmz_net:
    driver: bridge
Docker CLI:
# First create the network
docker network create dmz_net

# Run the container on that network
docker run --network=dmz_net my-image
A Final Note
Applying all these settings at once might break your application. Security is often a trade-off with convenience.
If a container fails to start after hardening, use docker logs <container_name> to see what went wrong. For example, if the logs say "Permission Denied" regarding a specific file, you might have been too aggressive with read_only or cap_drop.
My advice? Apply these rules one by one, restart the container, and verify it still works. Slowly tighten the screws until your system is secure and stable.
Best of luck